Inspections: Adding A Section
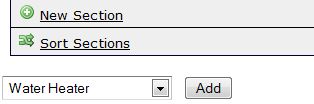
To add a Section, view the Section navigation list, which is always located at the left of your screen. Then just go to the very bottom of the Section list, and you will see the add ![]() "New Section" link. Select the text "New Section", not the
"New Section" link. Select the text "New Section", not the ![]() button.
button.

After you select "New Section" a pulldown appears, just select the section you want added into the inspection. After your selection, select the Add button, and then this section will be added into the report. Your added Section will appear in the navigation as the Section name with "Copy" after the added Section name. ![]() To add another Section into the inspection, just repeat the process. Note: It is faster to delete a Section, than to add one into the report. So having duplicate Sections in the inspection such as bathrooms, and others is the better way to go.
To add another Section into the inspection, just repeat the process. Note: It is faster to delete a Section, than to add one into the report. So having duplicate Sections in the inspection such as bathrooms, and others is the better way to go.
Sorting you added Section(s)
To Sort
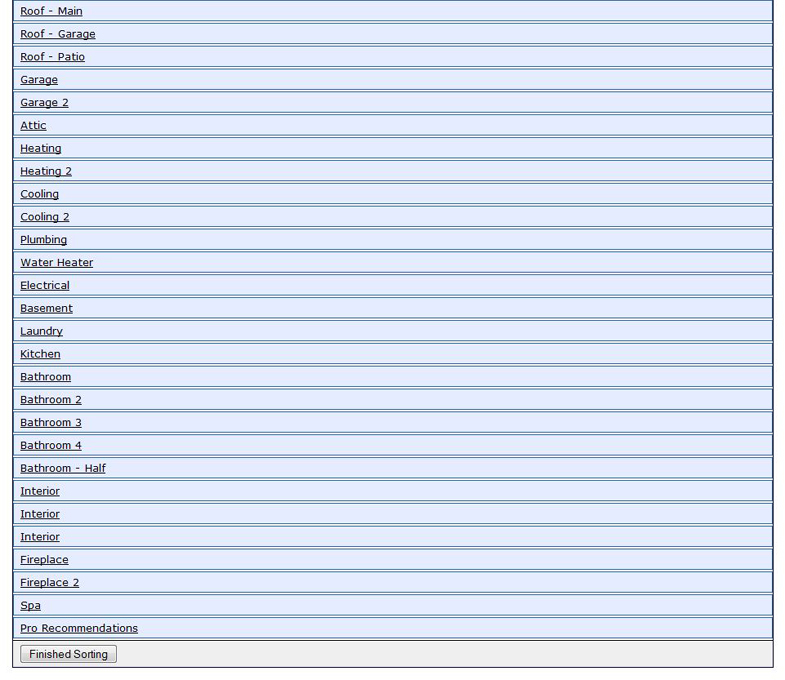
![]() the added Section or Section, just select the text "Sort Sections" located just below "New Section" The screen will then look like below, just drag the added section(s) into the location(s) you wish. Then select the "Finished Sorting" button at the bottom when you are done.
the added Section or Section, just select the text "Sort Sections" located just below "New Section" The screen will then look like below, just drag the added section(s) into the location(s) you wish. Then select the "Finished Sorting" button at the bottom when you are done.
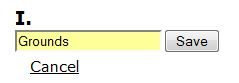
Renaming the Section Name
To rename a Section, or Item, simply click on the Section name and it will change to an editable text field.
Click Save or Cancel to revert.