Inspections: Adding Arrows & Circles to Photos
Adding circles and arrows to your inspection photos is a great way to clearly point out the problem area in an inspection photo. Adding circles and photos is not part on the inspection software, there are a number of different types of software available which enables you to do this. We are using Microsoft's Paint to add circles and arrows to the photos. Any circles and arrows need to be added to the photo before they are uploaded into the software.
View your photo on the computer and right click the image, if Microsoft's Paint is on you computer you will see an option, "Open With", select this and you see a short list, choose "Paint".
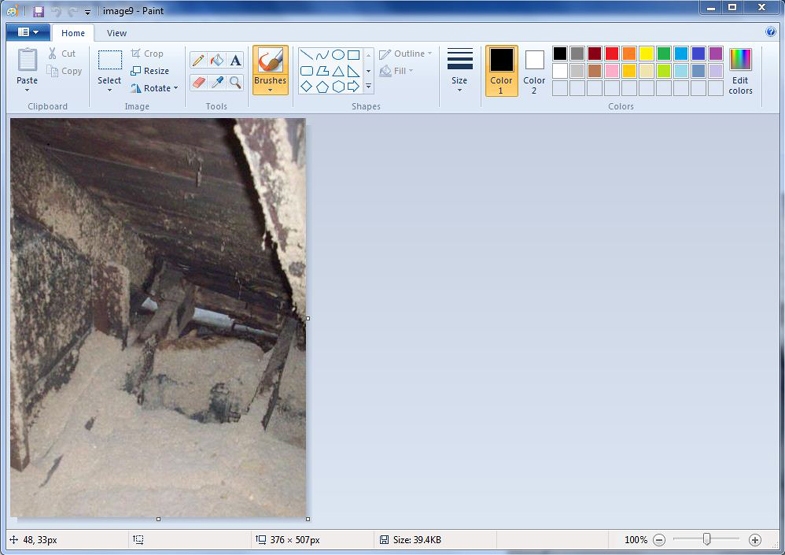
When the program opens your screen will look similar to this:
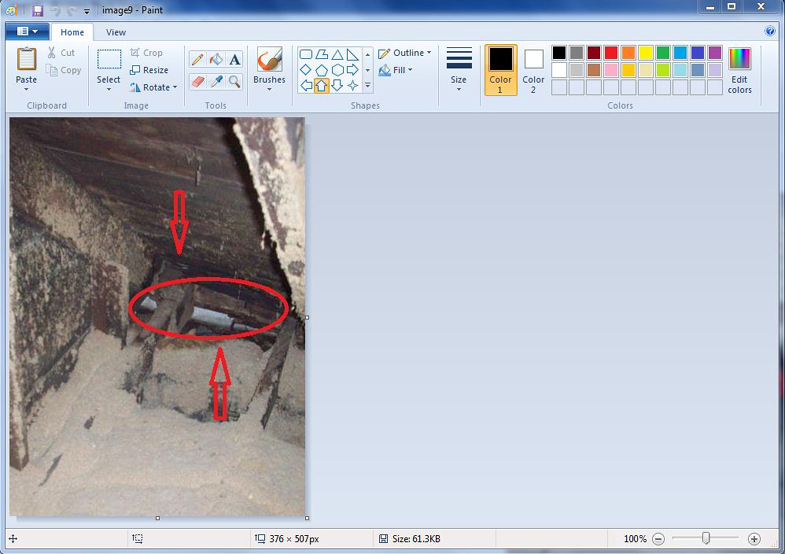
To select arrow or circle, the size (thickness) of the arrows and circles, as well as the color, use the setting tools at the top of the screen.

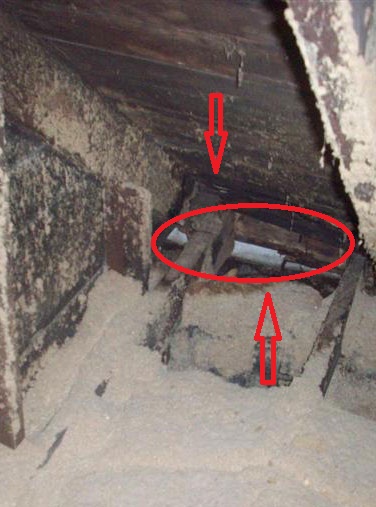
You can easily add arrows and circles like below. Obviously, just one arrow, or just the one circle would have surf iced for this photo in an inspection.
After you save the photo additions, the photo is ready to be uploaded to your report.