ml> Inspection Software Tutorial
Tutorial
Customers can view the html inspection report in just about any language.
Just copy and paste the reports unique URL into Goggles translator.
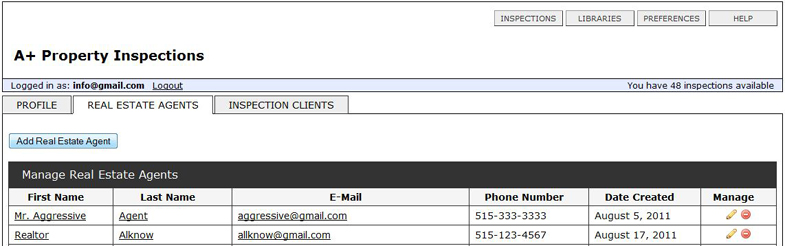
Home - Getting Started
Browser Settings
Preferences -Your Information
Preferences - Adding Agents
Preferences - Your Customers
Preferences - Google Calendar
Preferences - Ancillary Insp.
Start a New Inspection
Info Section - Scheduler
Item Section
Comments & Issues
Section Info
Section Notes
Summary
Adding a Section
Adding a Item
Photos Add Arrows | Circles
Adding Photos | Text Box Info
Adding Links
Inspection Reports
HTML Reports
PDF Reports
Library
Exporting - Importing
Editing the Agreement
Editing Sections |Info | Notes
Editing Items | Com | Issues
Adding a Library
Templates
Sorting
Selecting
Duplicating Sections & Items
Naming Sections & Items
Select Default Descriptors
PC Software

Preferences: Manage Real Estate Agents

Overview

You can manage Real Estate Agents in this area. This is an especially useful feature if you work with the same Real Estate Agents on a regular basis, it will save you from entering all their information into each Inspection Report. Just enter their info once and recall it by selecting them from a pulldown menu on the Inspection Info form.

Viewing Real Estate Agents

After logging in, click PREFERNCES in the upper-right corner of the software. That will take you to the Preferences area, then Click the REAL ESTATE AGENTS tab.

You should now see the Manage Real Estate Agents table. Each Real Estate Agent will be listed in this table.
Click on the name of the Real Instate Agent you wish to view. This will open up a new window displaying all the Real Estate Agent's information in alphabetical order.


Sorting List for Viewing

To view the list in order by first name, last name, or e-mail address just click on NAME in the heading and you will see a small arrow appear by your selection, you can view the list by the order you choose.

Add Real Estate Agent

From the Manage Real Estate Agents table, click the green Add Real Estate Agent button just below the table.
Fill out the blank Real Estate Agent info form.
Click Save.

OR

Importing Your Agent List or Export

At the bottom of the page you will see buttons to import or to export your list. The list needs to be in a standard CSV file. (Comma Separated Values)

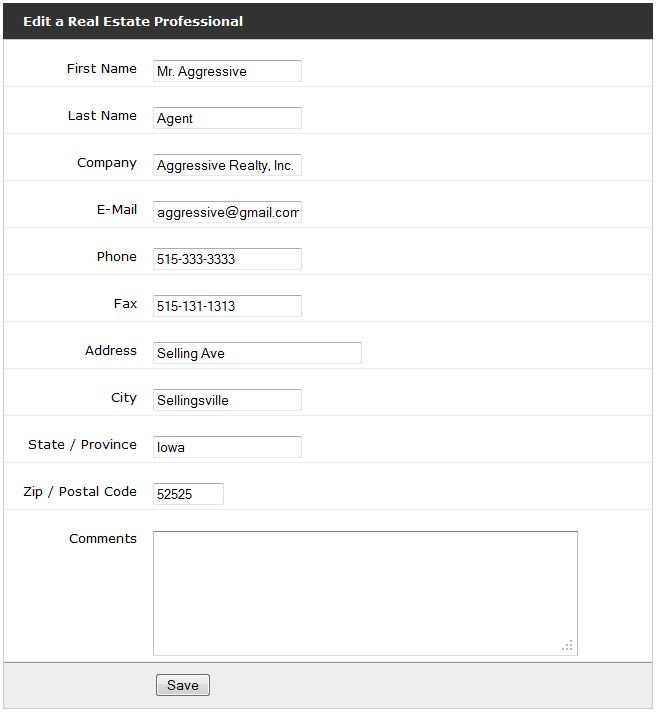
Editing a Real Estate Agent

There are two ways to access the edit form for a Real Estate Agent.

From the Manage Real Estate Agents table, click the edit icon in the right column, for the Real Estate Agent you wish to edit.
Edit any of the fields on the Edit a Real Estate Agent form.
Click Save.

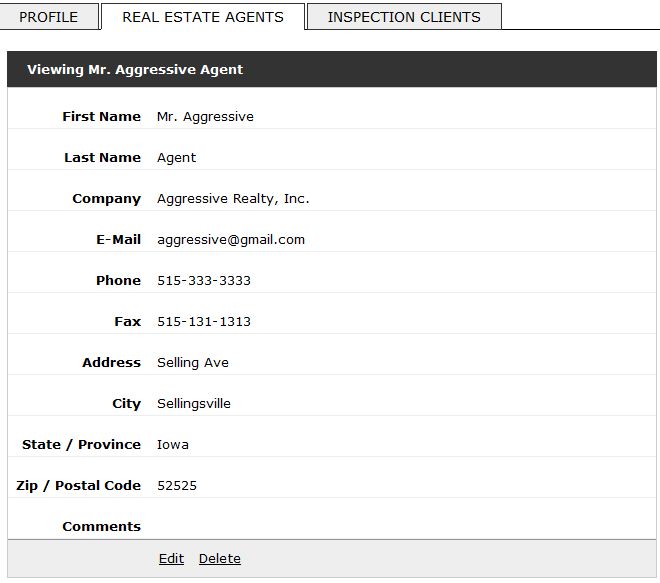
OR

From the Viewing Real Estate Agent page, click Edit at the bottom of the page.
Edit any of the fields on the Edit a Real Estate Agent form.
Click Save.

Deleting a Real Estate Agent

There are two ways to delete a Real Estate Agent.

From the Manage Real Estate Agents table, click the delete icon in the right column, for the Real Estate Agent you wish to delete.

OR

From the Viewing Real Estate Agent page, click Delete at the bottom of the page.