Inspections: Starting a New Inspection Info
Understanding the Essentials
Be sure you have read "Getting Started" including the information on Internet Browsers, and you have installed an update if needed. Read this page in its entirety before proceeding with starting an inspection. This page provides the minimum information for those who just want to get going very quickly. Please use the navigation bar at the left for more detailed information on each respective category.
![]()
A Master Library, along with a Master Template is furnished so that you may start an inspection immediately. The software is so customizable you could completely alter both the Library and the Template provided.
Before you start an inspection, there are three minimum tasks which you will need to complete.
1. Read this entire page thoroughly.
2. Make sure you read Browser Settings.
3. Read the Templates pages.
Template:
A Template refers to which Sections, and Items are to be used to begin an Inspection and what default order they are displayed. Templates also reference the default number of Sections, and Items to be used (For example: 5 Bathrooms versus just 3). Templates also reference a default Descriptor (defined below) for Each Item. Templates are stored in a Library. Content changes made to the Library will affect all Templates within that Library (For example: If a Section, or Item is deleted from the Library, it will also be deleted from all the Templates for that Library).
Understanding the process, and terms: There are five major categories / tabs for a inspection.
![]()
1. Info: This is where all the property, seller, client, and agent information is entered.
2. Agreement: The Agreement is the legal contract at the beginning of the Inspection Report. The default agreement can be changed, or amended.
3. Sections: A Section is a room, area or other division of a property. (For example: Grounds, Master Bathroom, Structural). Sections are stored in a Library. Additional Sections or duplicate Sections may be added to an Inspection, as long as they area already in the Template. This is made up of 3 categories, see number three below.
There are three main categories for inspecting each Section: Items with Ratings, Descriptors, Comments and Issues. Then there is Section Info, and Section Notes.

Item page of a Section: Here is where most of the inspection information is entered. You make selections from the populated pulldowns. You can also add brand new Descriptors, Comments and Issues - which can be saved just for that inspection, or you can choose "Save to Library", and your new addition will appear in all the future inspections pulldown(s). If you want to add a brand new Comment or Issue, select "View Comment / Photo or Issue", then select Add New from the pulldown. However, it is much more efficient to do this process later on, it is more efficient to stay on the Section page by not selecting View Comment / Photo or Issue during the inspection process.
Note: All pulldown menu's are in alphabetical order, so be sure to word any new addition in a way that you can easily find your entry in the pulldown for future inspections, if you are choosing to "Save To Library".
Time Saver
- A must for completing the inspection as quickly and efficiently as possible
Just select the "1 - prompt..." if you do not find what you need in the Comment and Issue pulldowns, then add the new Comment or Issue later from the Summary page after you are done with the entire inspection. By selecting the "1 - prompt..." it will display this prompt at that Item(s) in the Summary area. Add your photos for the Comments and Issues via the Summary page as well, it's a real time saver doing it in this manner.
Glossary of Terms
Item: An Item is something to be inspected on a property. (For example:
Toilet, Foundation Walls, Fencing.) Items are stored in a Library.
Additional Items or duplicate Items may be added to an Inspection, as
long as they are already in the Template (see image above: Import An Item).
Descriptors: A Descriptor is a general description for a Section, or Item.
Descriptors for Items are stored in a Library. Custom Descriptors for
Items can be created per Inspection, with the option to save them to the Library. (see image above: Select Item Description)
Ratings: Each Item or Component for an Inspection is rated. Rating options are: S = Satisfactory, NI = Not Inspected, NP = Not Present, AR = Attention Required (or as an alternative, and for Texas: I = Inspected, NI = Not Inspected, NP = Not Present, R = Not Functioning or In Need or Repair). If you select the any one of the very top buttons, then all the buttons beneath will be populated with the same choice. You can change this selection for each individual Item. This function can be a time saver. (see image above: the circular buttons)
Comments: Comments are non-critical notes specific to an Item or Component in an Inspection. Comments denote something of remark that are not cause for immediate concern or action. Custom Comments can be created per Inspection, with the option to save them to a Library. Comments are listed in the report, and displayed in the Summary separate from Issues.
Issues: Issues are critical notes specific to an Item in an Inspection. Issues denote something of concern that may warrant immediate action. Issues are stored in a Library. Custom Issues can be created per Inspection, with the option to save them to the Library. Issues are listed in the report, and displayed in the Summary separate from Comments.
Info Page of a Section:
This is the place where you select general information for the Section. (This area is not the same as the major Info category for the property, client, agents as defined earlier above) Here you may also add photos, or remarks which are for general or positive information on the structure. If no selections are made in this section, then nothing will appear in the report - as if this area did not exist. The information and photos entered here will not appear in the Summary.
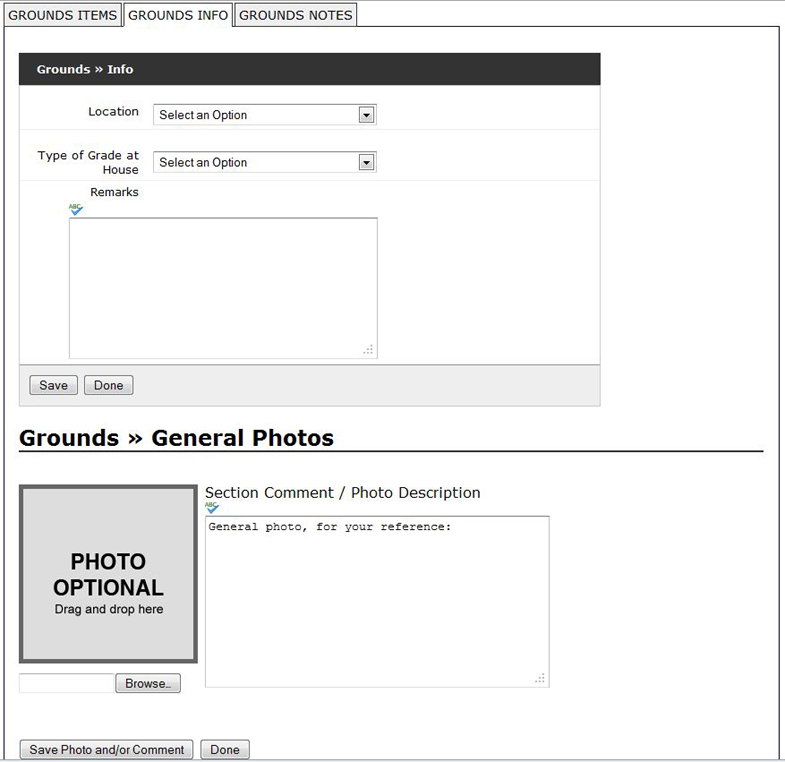
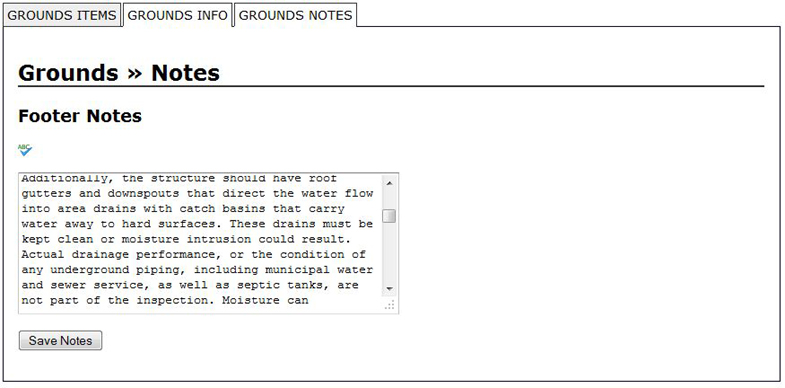
Notes page of a Section:
Footer Notes are displayed at the end of a Section in the Inspection
Report. They are specific to a Section. Default Footer Notes are stored
in a Library. Section Notes may also be modified per Inspection.
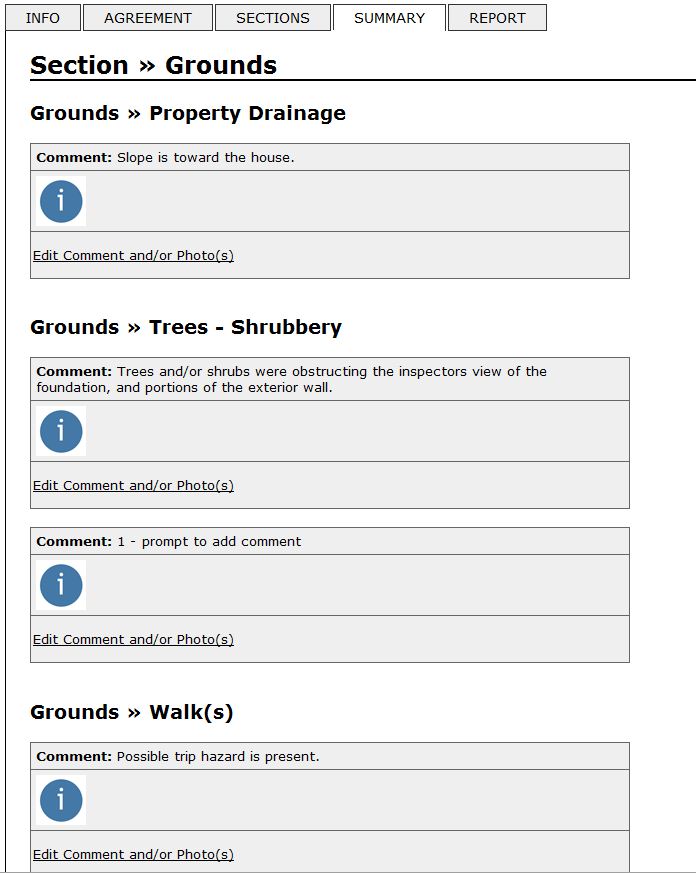
4. Summary:
This area displays all of your selected Comments and Issues for that inspection. It is quickest to enter all your photos and photo text remarks from this category.
Summary screen shot below shows how your drop down selections for the section Grounds would appear. You would simply select "Edit Comment and/or Photo(s)" (or Issue if applicable).
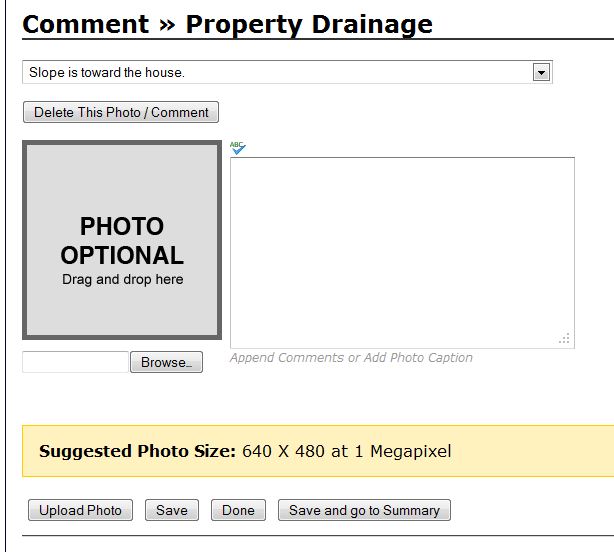
After selecting "Edit Comment and/or Photo(s)" you would be brought to the appropriate Comment or Issue page, as shown below. Here you can add your photo(s), and add addition text in the text box to the right of the image placeholder. When you are finished, just select the "Save and go to Summary" button.
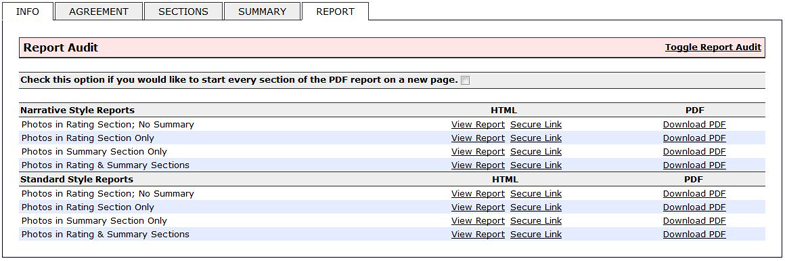
5. Reports:
This is a HTML (Web based) document, or PDF generated document that contains all the selected/entered information about a particular inspection job. You can select from 8 different versions for your report. Available in both in html and PDF formats. You also have the option of selecting if you want each section to start on a new page for the PDF report. In addition the html report can be translated into just about any language. Always make a PDF of every report to save on your computer, or on a CD. Its a good habit to do this as soon as you are finished with the inspection.
Start Your Inspection:
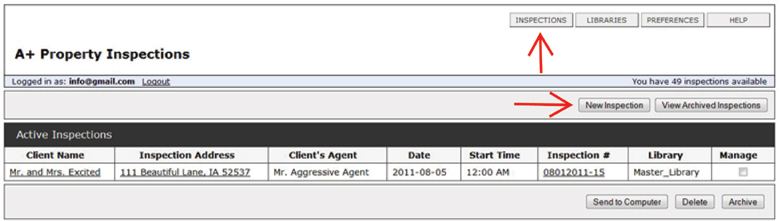
OK after you have read and comprehended this page (at least most of it), the best way to learn is to play / practice. So go ahead start your free inspection. Be sure to select the "Inspections" button at the top left area of your account, then select the button "New Inspection".
Go to Templates before doing any paid inspections: ![]()